封装UI组件库系列第一篇·搭建项目
前言
🌟搭建项目
创建工程
基本结构
1.创建8个组件展示页面
2.配置路由文件router/index.js
3.页面布局
🌟总结
前言
在前端开发中,大家可能已经用过各种各样的UI组件库了,现在市面上热门的有Element-ui、Ant Design等等,这些即插即用的组件库确实大大提升了开发效率,避免了很多的重复劳动,但这些组件库再怎么完善,又怎么能满足得了我们可爱的产品经理呢 ?所以工作中难免会需要开发公司内部的UI组件库,或者基于已有组件库进行二开。
【封装UI组件库系列】文章,将从0开始--》搭建项目--》封装八大经典功能组件--》打包组件库--》将组件库发布至npm--》使用自己封装的组件库。技术方面使用的是Vue3 + Vite + Sass 来完成一个模仿Element Plus的组件库。最终完成效果如下:


🌟搭建项目 创建工程
组件库使用Vue3+Vite搭建,所以第一步先创建工程:
pnpm create vue@latest
我使用的是pnpm包管理工具,这个根据个人情况来就行npm、yarn等都可 。

项目创建完成后 pnpm i安装依赖,pnpm dev启动项目:

基本结构
接下来我们将以下图为最终效果来一步步实现:

1.创建8个组件展示页面:

2.配置路由文件router/index.js import { createRouter, createWebHistory } from 'vue-router' import IconView from '../views/IconView.vue' const router = createRouter({ history: createWebHistory(import.meta.env.BASE_URL), routes: [ { path: '/', name: 'icon', component: IconView }, { path: '/button', name: 'button', component: () => import('../views/ButtonView.vue') }, { path: '/card', name: 'card', component: () => import('../views/CardView.vue') }, { path: '/dialog', name: 'dialog', component: () => import('../views/DialogView.vue') }, { path: '/collapse', name: 'collapse', component: () => import('../views/CollapseView.vue') }, { path: '/pager', name: 'pager', component: () => import('../views/PagerView.vue') }, { path: '/tooltip', name: 'tooltip', component: () => import('../views/TooltipView.vue') }, { path: '/dropdown', name: 'dropdown', component: () => import('../views/DropdownView.vue') } ], linkActiveClass: 'active' }) export default router 3.页面布局
在App.vue中将页面基本布局完善

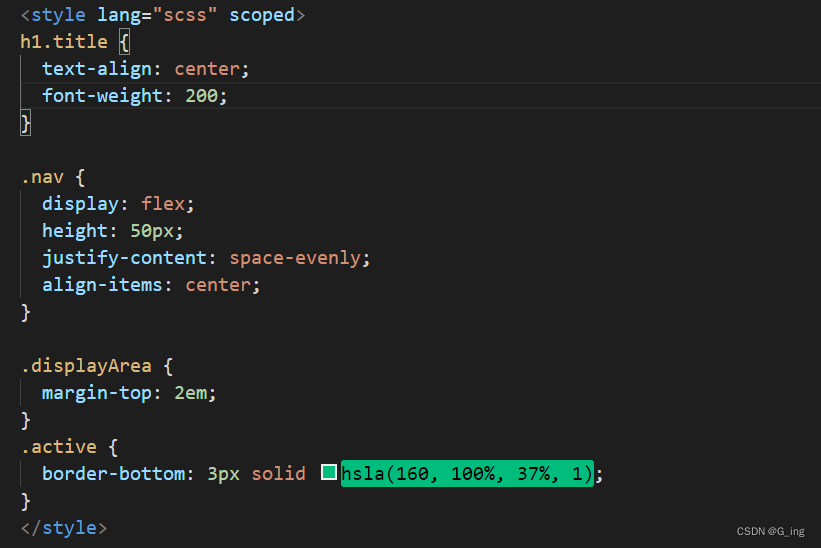
样式会使用sass,所以需要pnpm add -D sass

.active其实就是选中样式,上面在路由文件配置的linkActiveClass: 'active',就是使用的这里的样式。
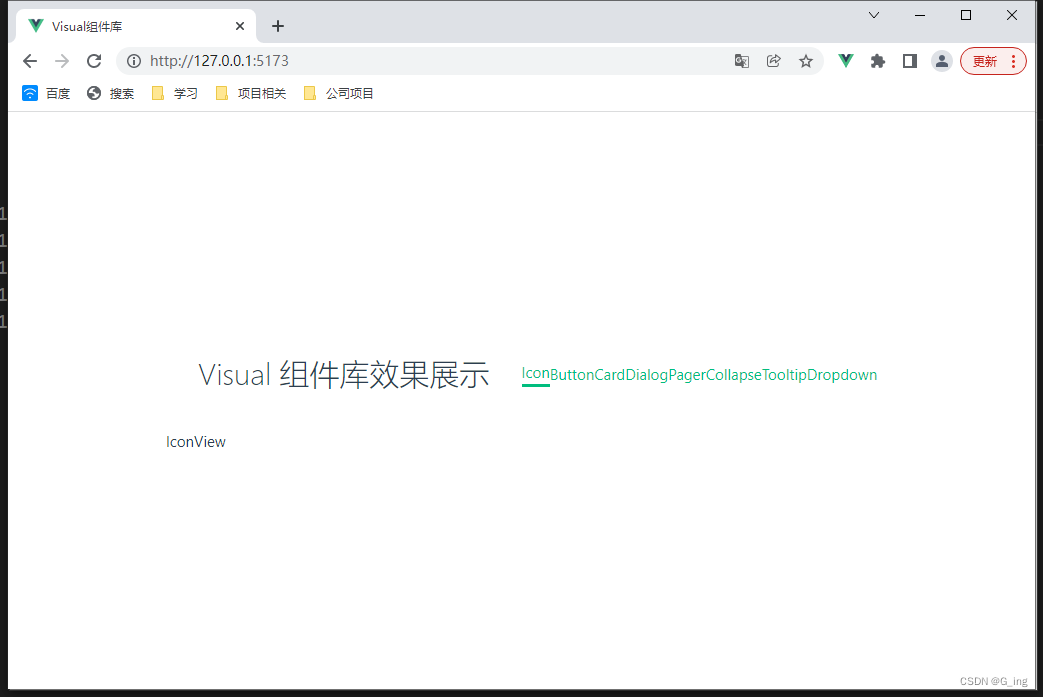
这时启动项目会发现如下图:

这是因为在main.js中引用了默认样式import './assets/main.css'

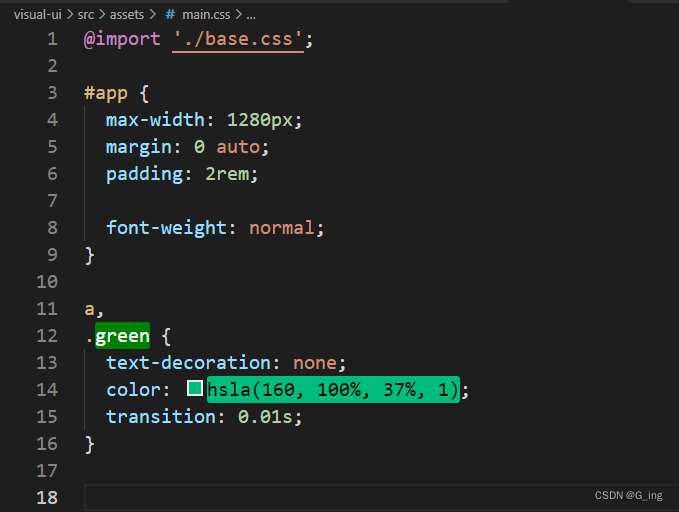
打开main.css文件,删去我们用不到的样式,剩下如图:

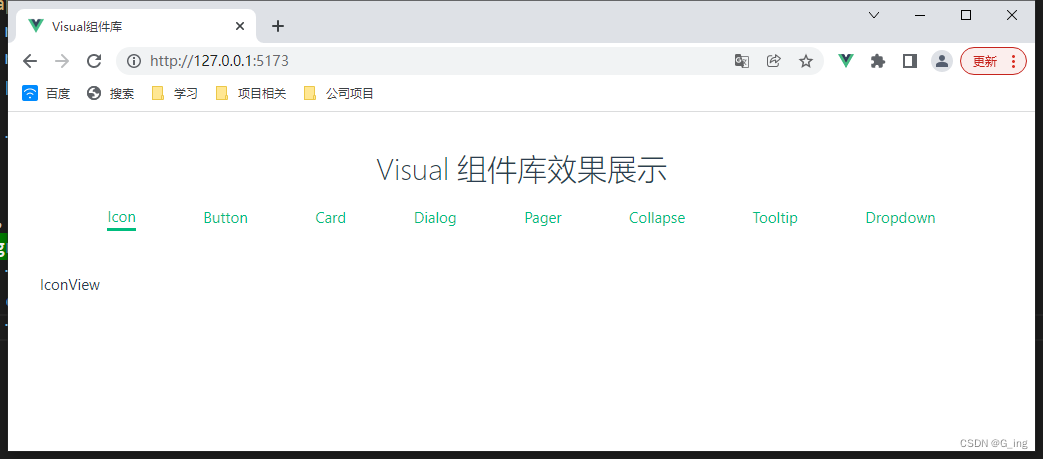
再打开项目得到如下图效果,那么项目的基本布局就完成了。

本篇将项目以及页面搭建好后,下一篇就是使用Sass语法模仿Element Plus 创建主题色彩,以及重置样式。

🌟总结
【封装UI组件库系列】文章会持续更新,将带着大家从0开始--》搭建项目--》封装八大经典功能组件--》打包组件库--》将组件库发布至npm--》最后使用自己封装的组件库。如果文中出现有瑕疵的地方各位通过评论或者私信联系我,我们一起进步!该系列文章建议从第一篇开始看,系列专栏地址:从零开始封装UI组件库完整篇


